So this is something I learnt from the Entheos Website I have given the link of in "Favorite Sites".
I am not copy pasting the entire tutorial, but it still is the gist of it. I'll be explaining it in my own childish way.
Okay so, open Adobe Photoshop 7.0.
Open a new workspace (I think that's what they call it).
Add a new layer. Everything should be done on a new layer (my friend taught me that).
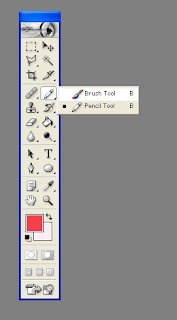
Look closely at the "Tools" window.
If you don't have the "Tools" window visible, go to the "Windows" tab, on the top, second from the right. Click on Windows and then "Tools", you'll now see a Tools window.
Now click on the brush tool:

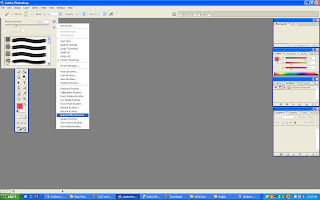
Now, after selecting the brush tool, click on the arrow I have marked with red in the picture below:

Now, click on the small arrow at the top right corner from the drop down window. From the Brushes option at the bottom of the menu, you can select any kind of brushes.
When you select you a pop up window asks you if you want to replace the current collection of brushes with the one you just selected, click on "OK" here to continue.
If you select "Special Effects Brushes", you'll see a collection of quite a good collection including "Scattered Roses", "Ducks not in a row" etc.

Select any brush you like and do wonders. :)
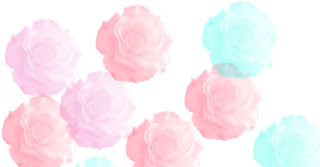
Look what I have done with "Scattered Roses" with size set as "292px":

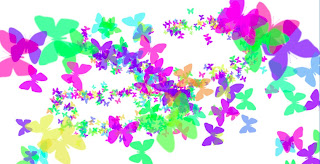
And with "Butterfly" with sizes: "29 px", "100 px" and "200 px":

No comments:
Post a Comment